Application Management (KeyAccess)
Overview
Before an application can connect to the KeySquare platform using one of the api's, it must be configured in KeyAccess.
KeySquare treats applications and users as 'resources' both capable of connecting to the platform.
Before we get started, ensure that
- Key UI is up and running (default port = 6500)
- You are able to login using the admin account (username=admin, password=ksadmin) or any account with role = ADMIN
Update the default admin password by setting KS_WEB_DATA_SERVER_ADMIN_PASSWORD in Web-Data-Server
Authentication for Key UI are managed separate to platform permissions in KeyAccess. (details here)
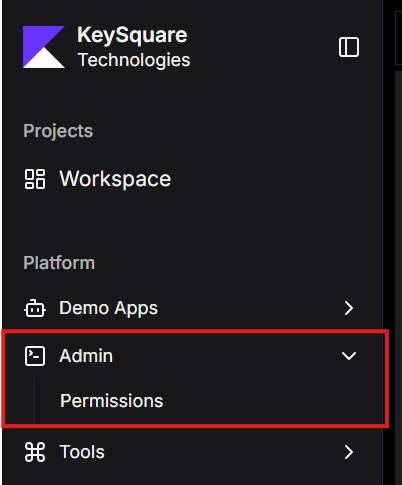
To verify, you have role = ADMIN, look for the Admin section in the sidebar
Please refer to instructions here on how to assign user roles
Register New Application
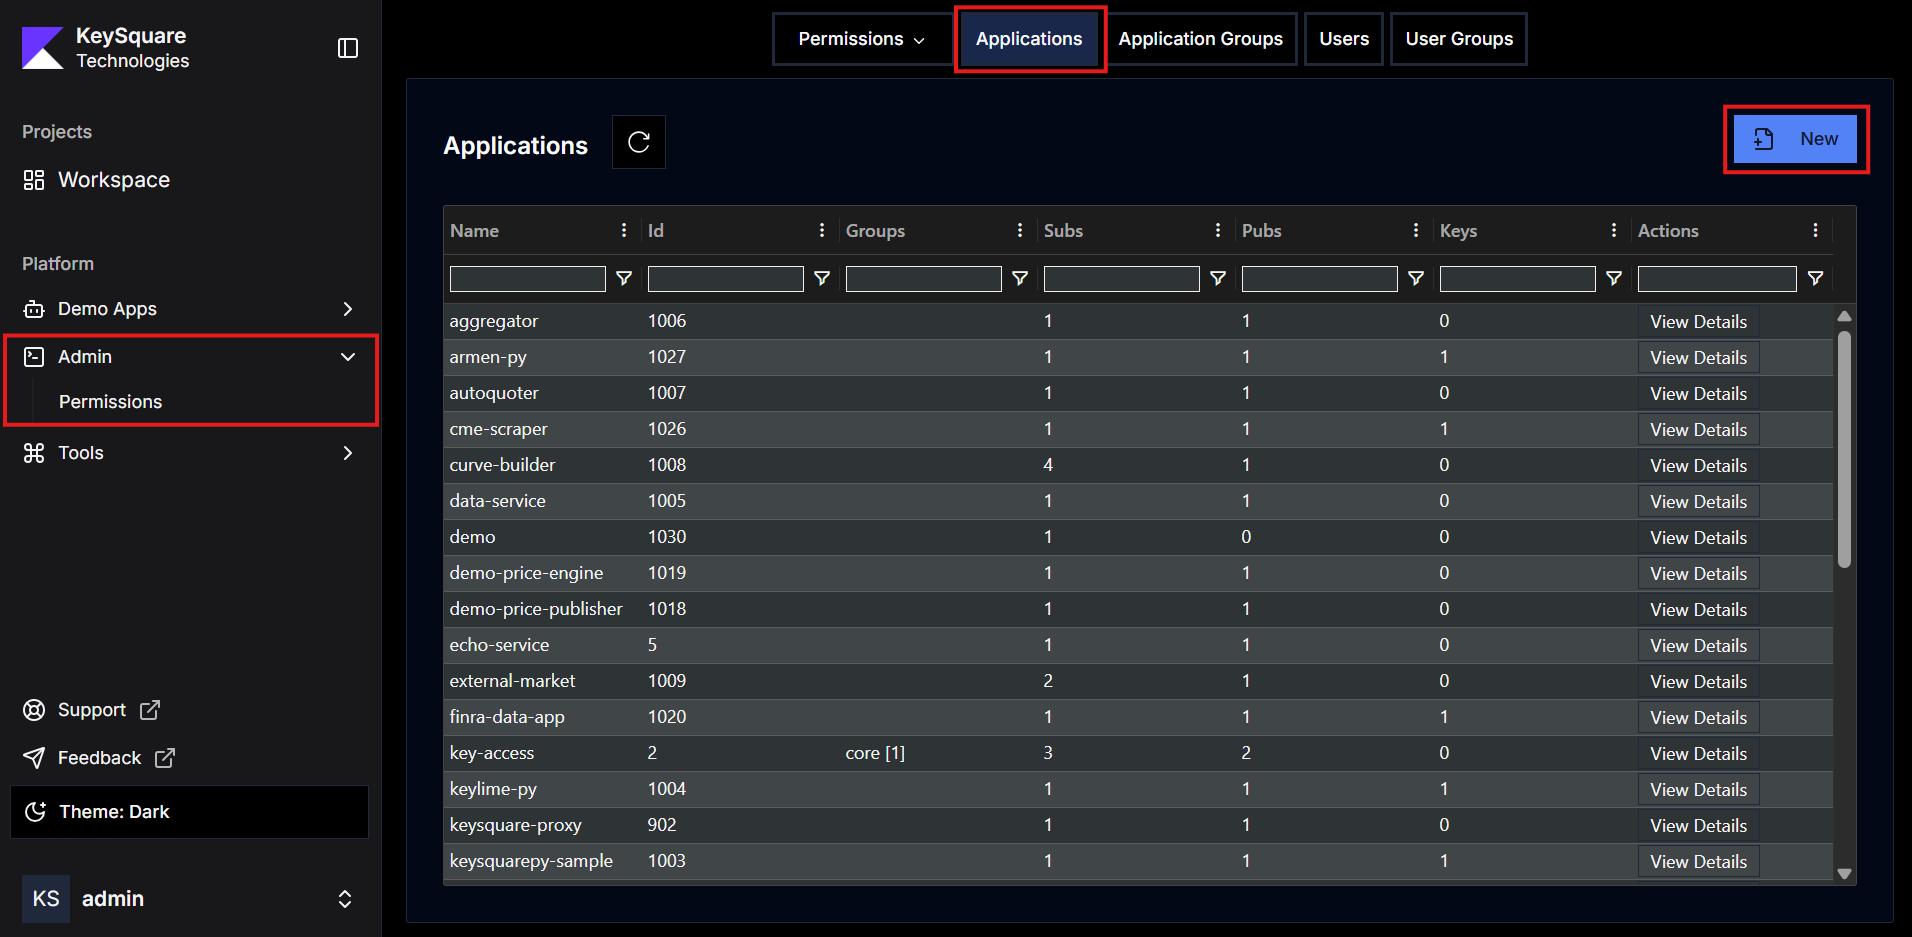
- Click on Permissions in the admin side panel
- Ensure 'Applications' is selected in the top-menu
- Click on the blue 'New' icon
- Enter name for your new application e.g. demo
- We recommend using kebab case for names
- Note: Names must be 20 characters or less and must be unique across all resources (applications, users, groups etc)
- Note: Application names cannot be changed once created
Every application is assigned a unique application id.
New Application Group, User, User Group
Follow the same instructions as new application. Simply select the appropriate resource from the top menu.
Publish and Subscription Permissions
A newly created application can connect to the platform, but by default it is not permissioned to subscribe or publish any data.
Ensure you have a good understanding of topic structure before adding/removing permissions.
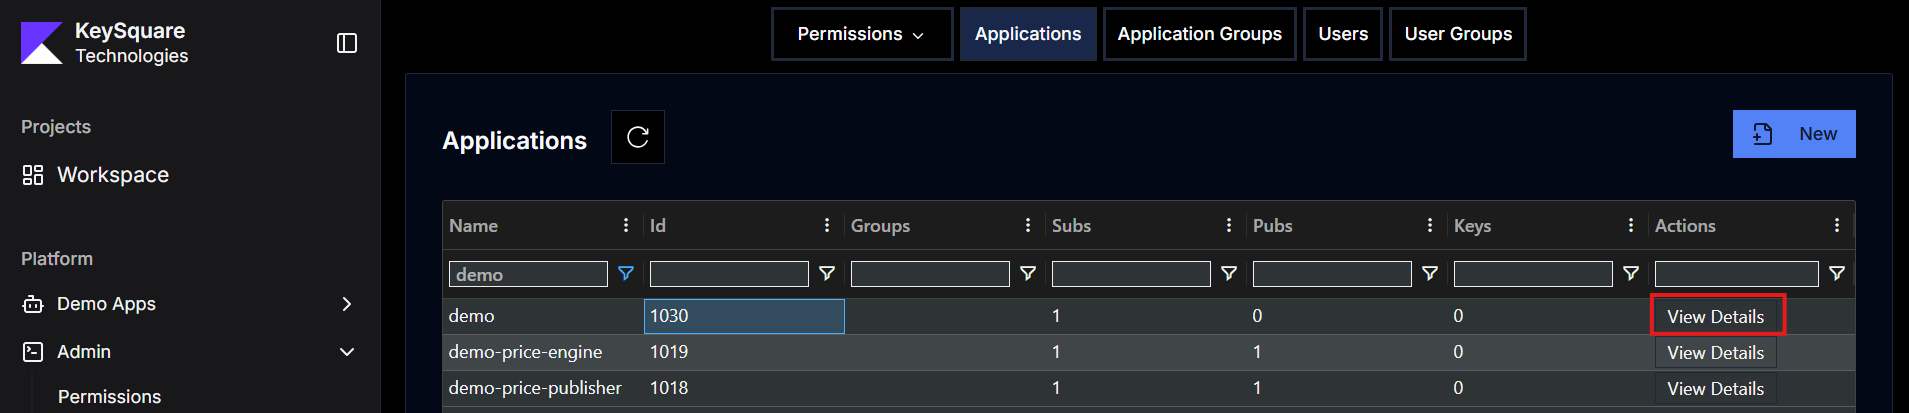
To manage permission, find your application in the applications table and click 'View Details'
In the detail window
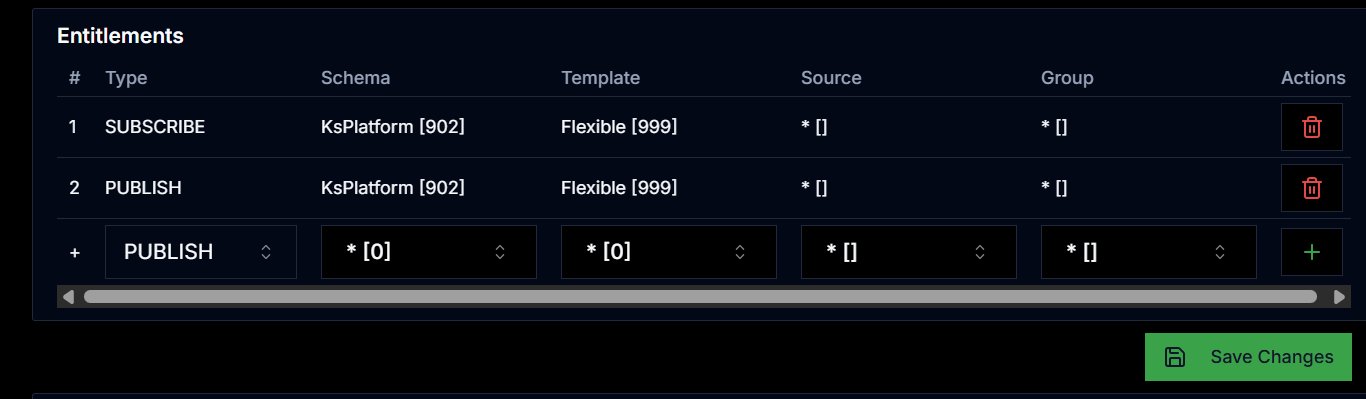
- Scroll down to Entitlements
- Pick the appropriate permissions from the series of options.
- Type => SUBSCRIBE | PUBLISH
- Schema => Dropdown with all available schemas available on platform
- Template => Dropdown with all available types for the chosen schema
- Source => case sensitive source name that this application should be able to subcribe/publish (matches on topicSource)
- Default topicSource for publishers is
<applicationName>
- Default topicSource for publishers is
- Group => case sensitive source name that this application should be able to subcribe/publish (matches on topicGroup)
- Default topicGroup for publishers is 'NONE'
- Click + to add the permission and hit 'Save Changes'
- A notification should confirm successful save
- Use schema and template wildcards sparingly. Whilst this may be convenient, it can make managing permissions difficult in the long run
- Use Application Groups (or User Groups) to manage permissions if multiple resources need the same permissions.
- Create Application Group similar to 'new application'
- Update permissions/entitlements as instructed above
- Go back and View details for your application and 'Assign this resource to group' you just created
- Hit 'Save Changes'
Get an API key
To get an api key for an application or user
- Click on Permissions in the admin side panel
- Ensure 'Applications' or 'User' is selected as appropriate in the top-menu
- Find the application or user in the table and click view detail
- Scroll down to 'API Keys' section
- Click 'Generate API Key'
- Click 'Save Changes'. Note: API key is not persisted until changes are saved

- In Java the API key can bet set by:
- calling
setApiKey(apiKey)on KeySessionContext - setting System Property
KS_APP_API_KEY=apiKey
- calling
- In Python, it can be set in the constructor of KeySession as
application_key=apiKey - In Excel, apiKey can set in the ribbon
Assigning user a role
User Groups serve a dual role in permissions. In addition to managing data permissions for group of users, they are also used to manage Key UI permissions
Assuming, there is a user group called 'support'. When a user is assigned to this group, they will:
- Have role = SUPPORT when they log into Key UI
- Be able to access any views or workspaces shared with group = 'SUPPORT'
Two user groups are created by default:
- admin
- developer
To create new user group, follow the same instructions as new application. Simply select 'User Groups' from the top menu.
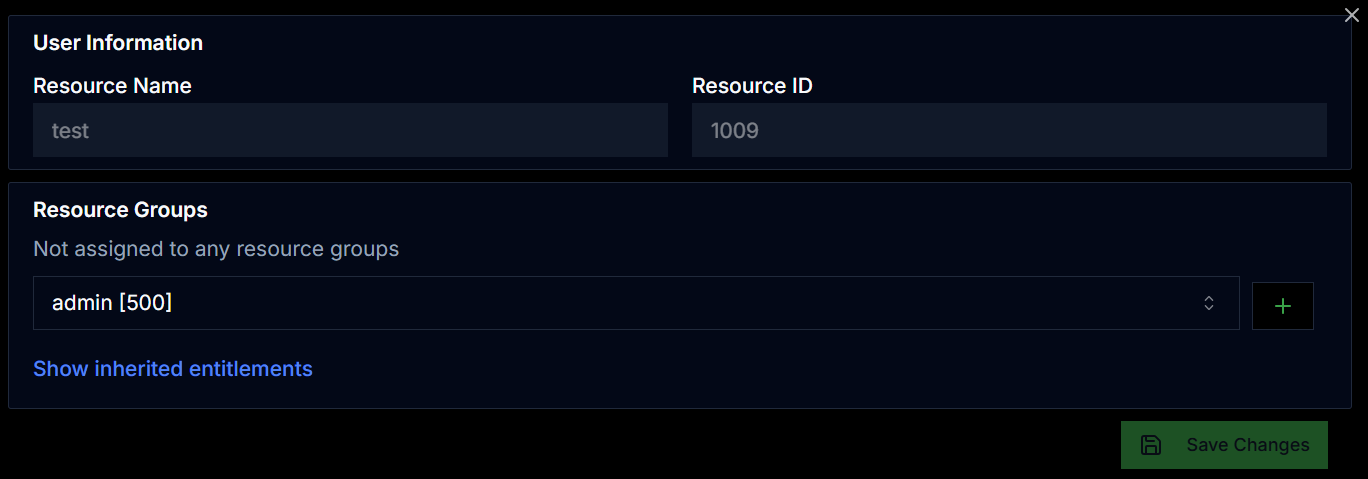
To assign a user to a group
- Click on Permissions in the admin side panel
- Select 'User' from the top-menu
- Click 'View Details' in the row of your user
- Scroll to 'Resource Groups' section
- Pick the required group from the drop down and hit 'Save Changes'